

-400x400w.jpg "Sharpie Dot Flower Pot Craft")
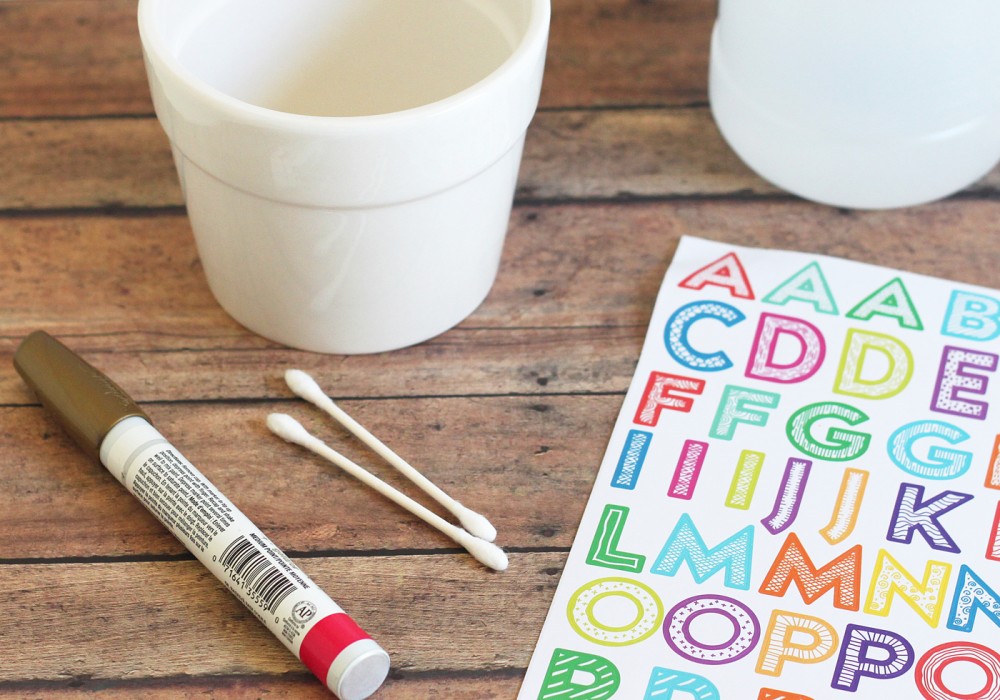
Supplies needed:
- white, ceramic flower pots – found these at the craft store
- letter stickers
- oil-based Sharpie(s)
- optional: rubbing alcohol
- optional: cotton swabs
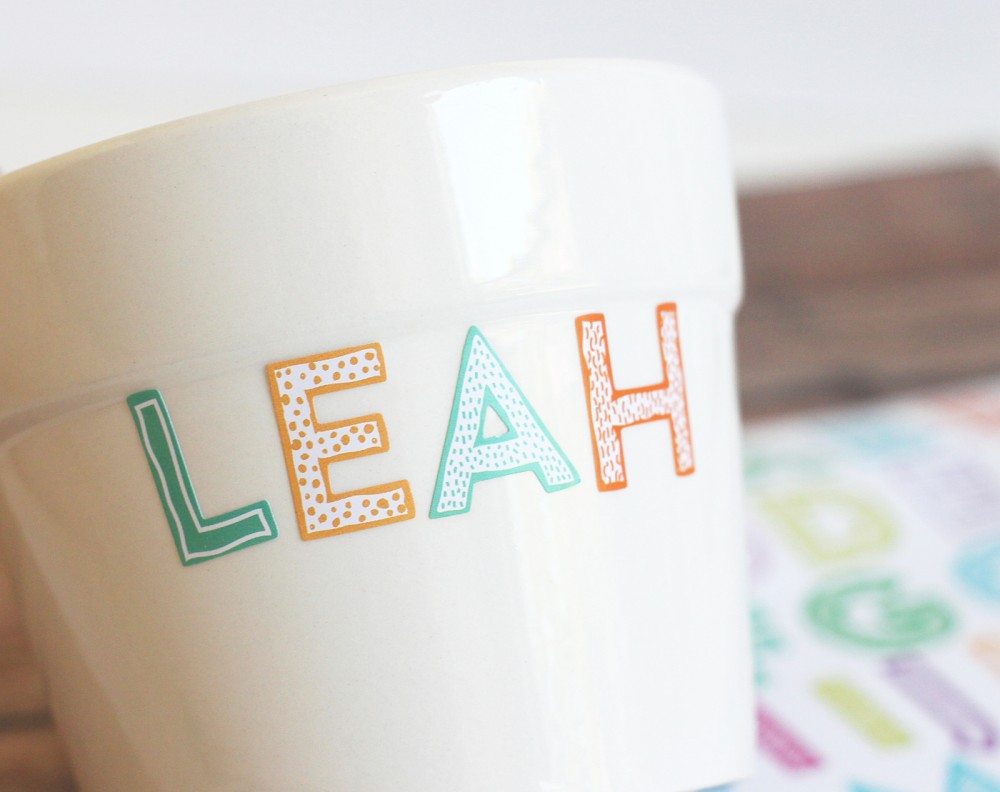
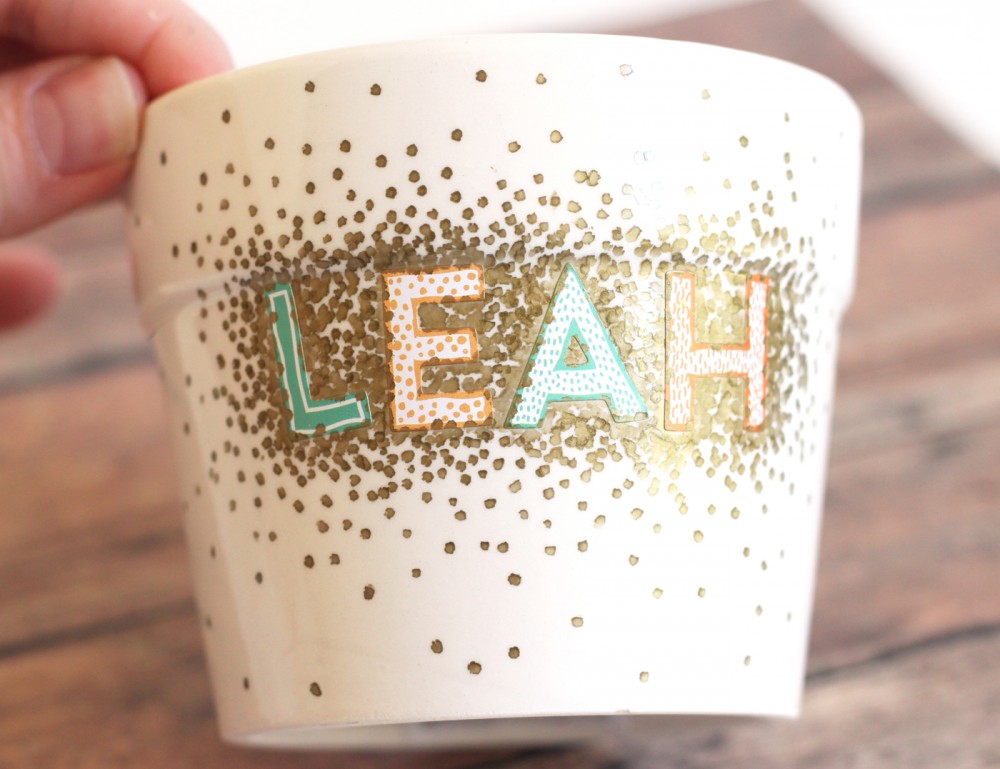
 Place the letter stickers on your pot to spell a name or word. You could use some fun shape stickers for this part as well!
 Use your Sharpie to make dots all around the letters.
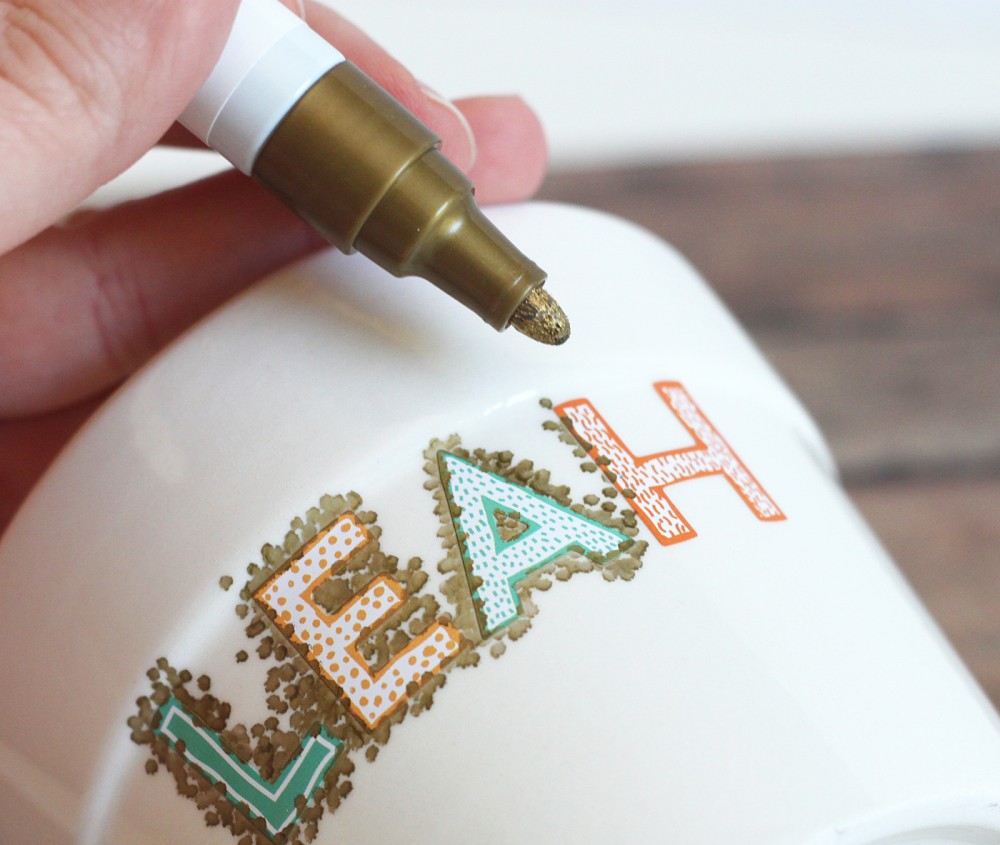 Make the dots close together around the stickers, and fade them out as you get further away. You can use one color like we did or have fun with a bunch of different colors.
 Make sure the ink is completely dry and then peel off the stickers.
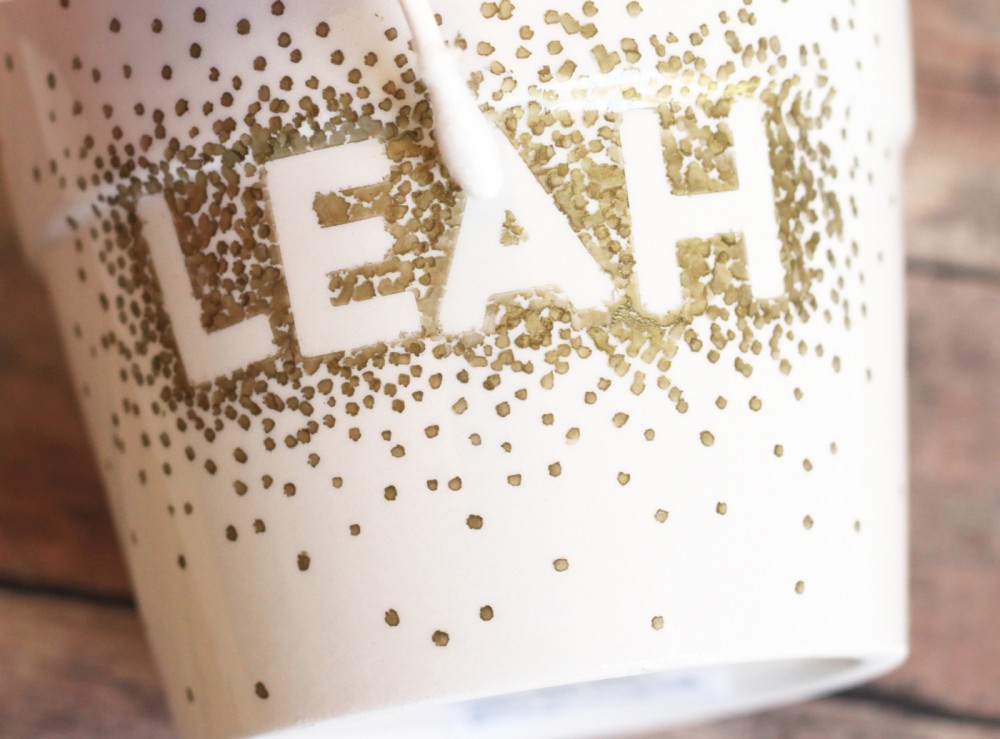
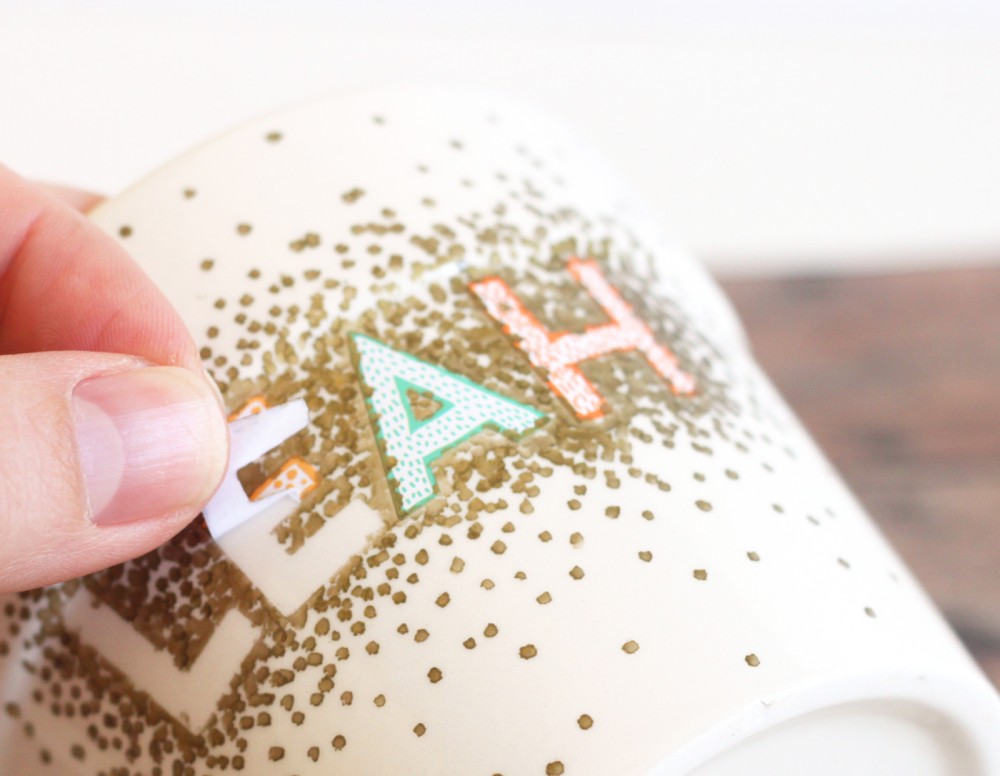 If there were any spots that the ink leaked under the stickers, just wipe it off with a little rubbing alcohol on a cotton swab.
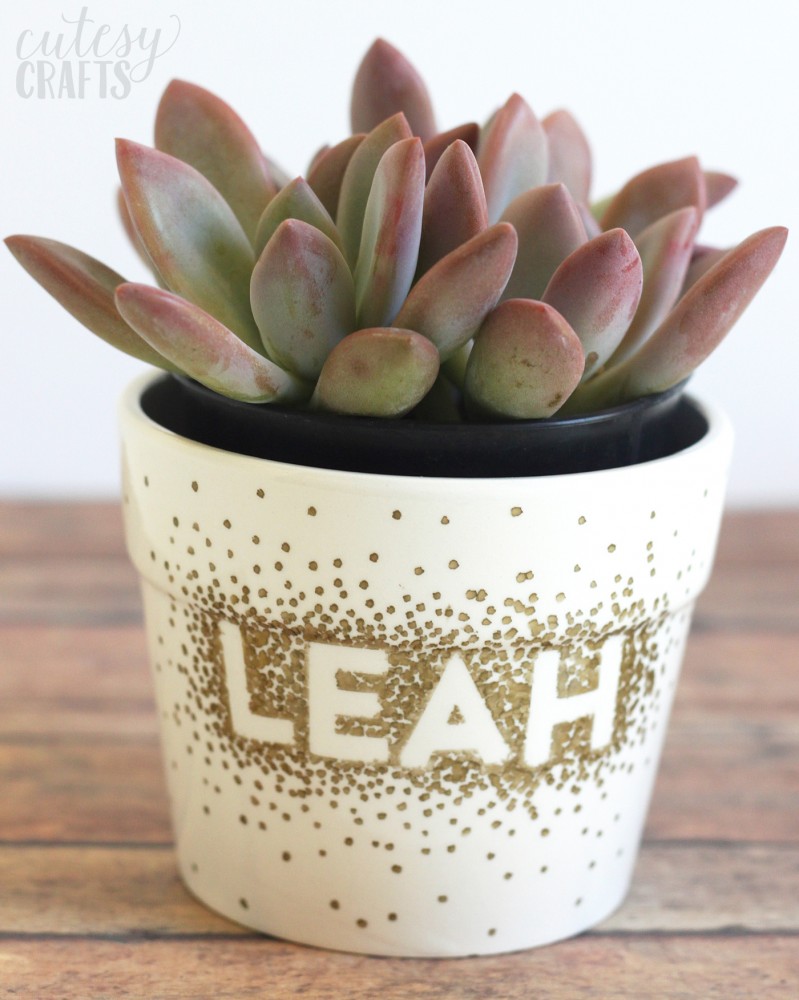
 And you’re done with your flower pot craft! Easy right?!
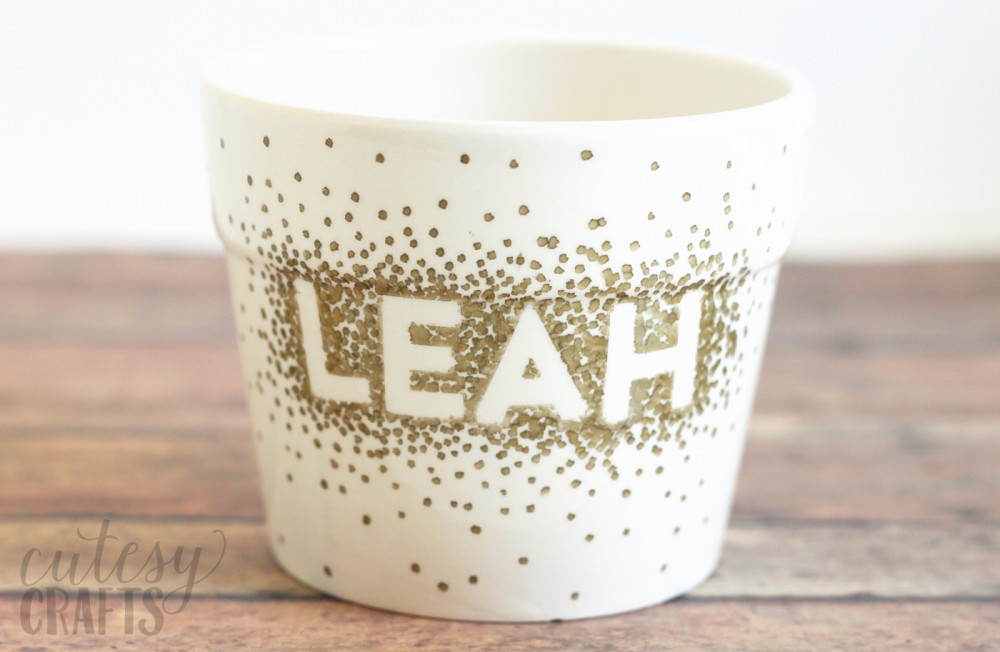 We put some pretty succulents in our pots, that are perfect for our hot California summer. Hopefully we finally have something that will survive since I’m not great at watering things.