


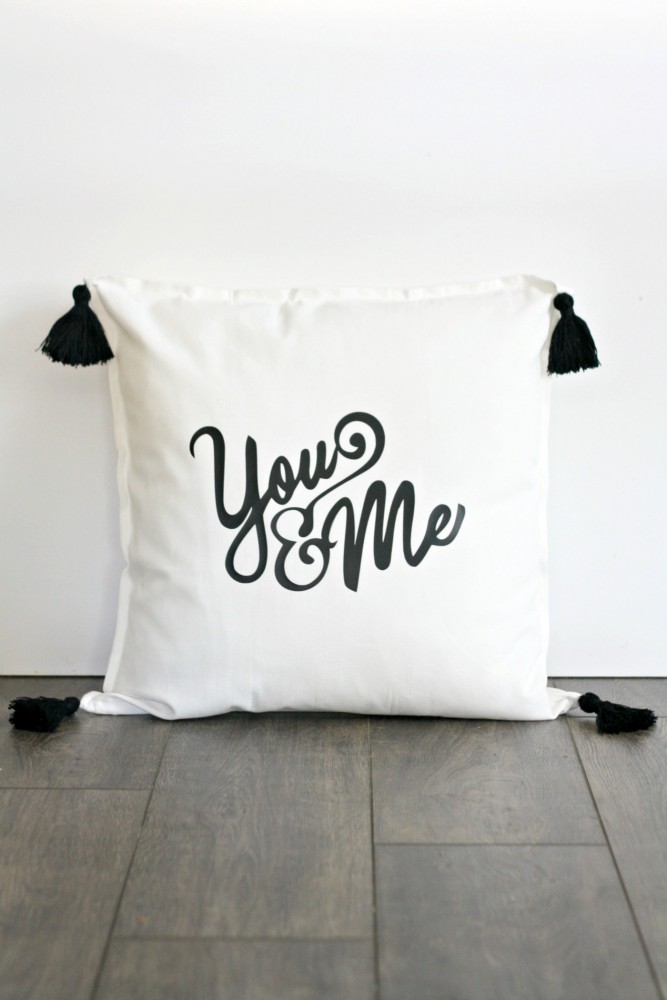
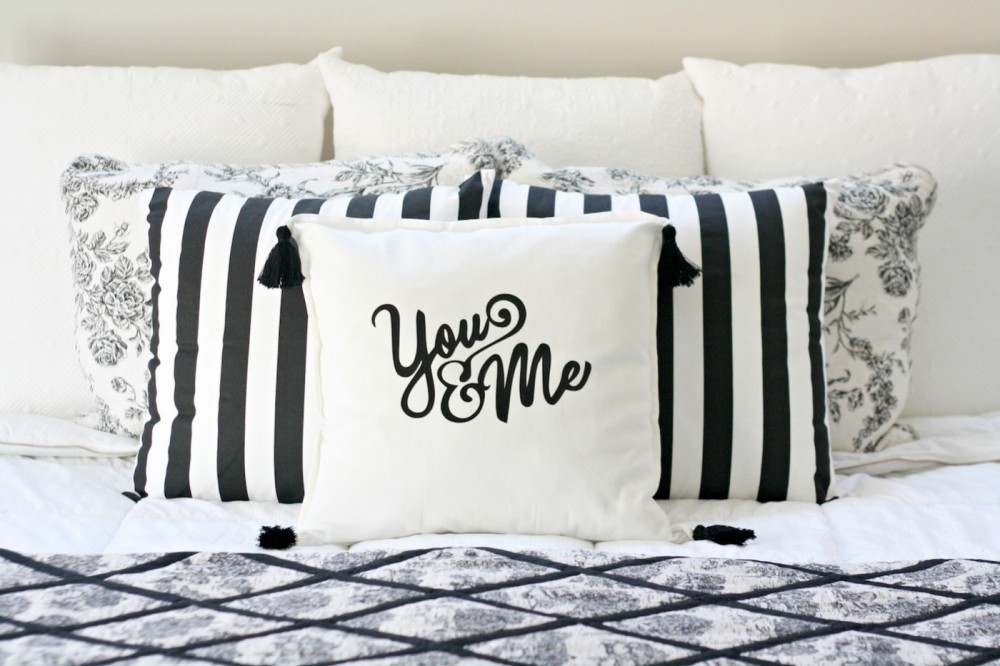
-400x400w.jpg "Iron-On Graphic Pillow Cover with Tassels")
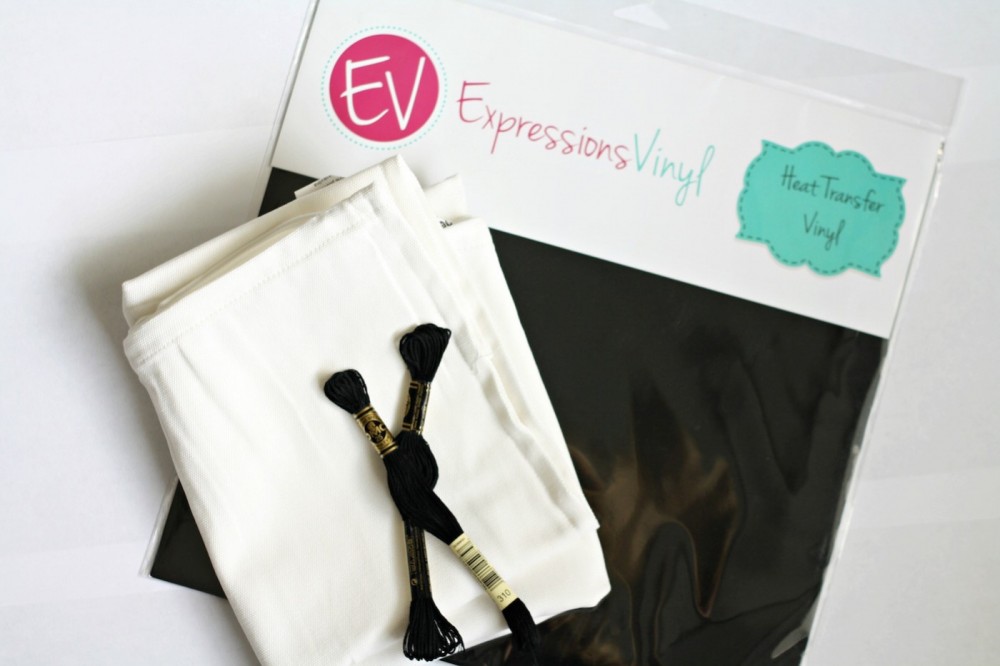
Supplies
- Blank pillow cover
- Pillow insert
- Expressions Vinyl Heat Transfer Vinyl
- Floss or yarn
- Silhouette and this art
Step 1: Cut your design out of the vinyl. I used a cutting machine, but you could also cut by hand for a simpler design (a big heart would be so cute). Make sure you flip your design, if necessary, before cutting!
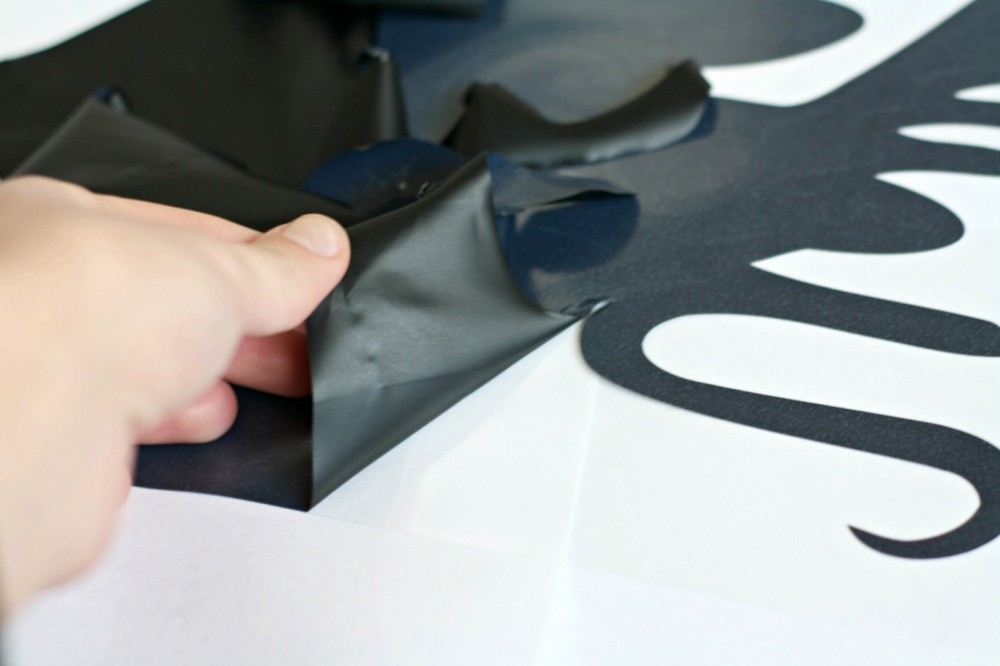
Step 2: Remove the excess vinyl.
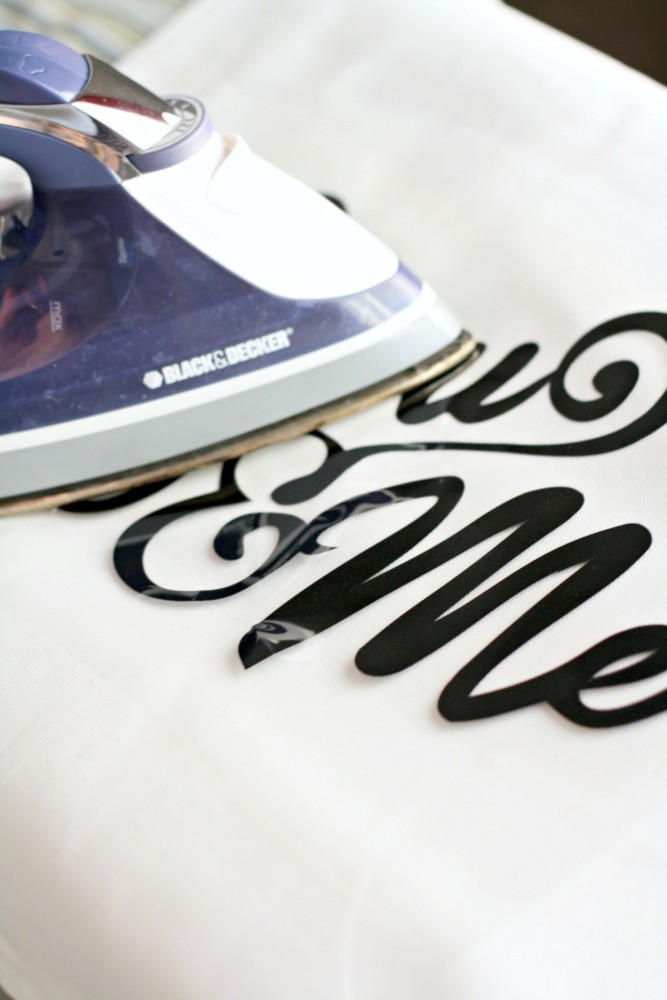
Step 3: Place your design on the pillow insert and iron, following the recommended settings.
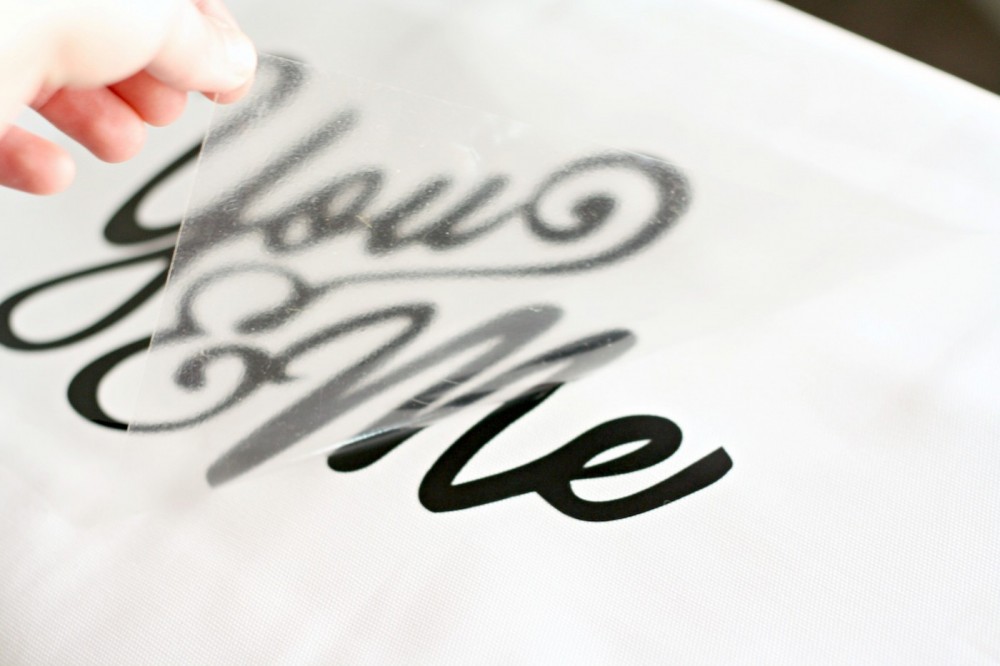
Step 4: Carefully remove the clear carrier sheet (again, following the recommendations for your vinyl).
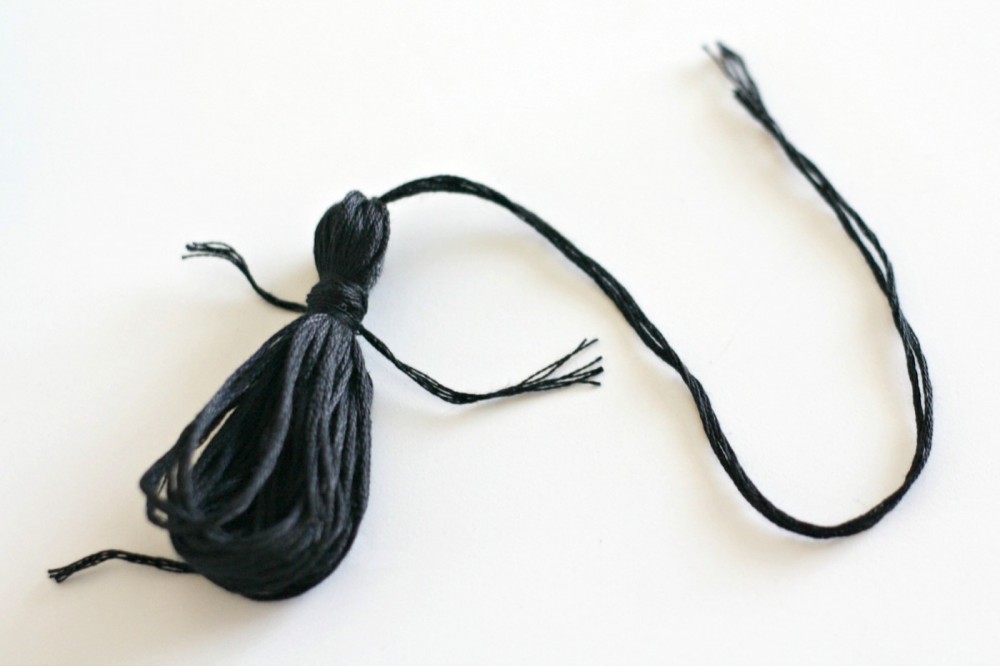
Step 5: Create tassels by wrapping floss around your hand until it reaches the desired fullness. Tie some thread to the top (for attaching to the pillow). Wrap thread around top 1/4 of the tassel and knot.
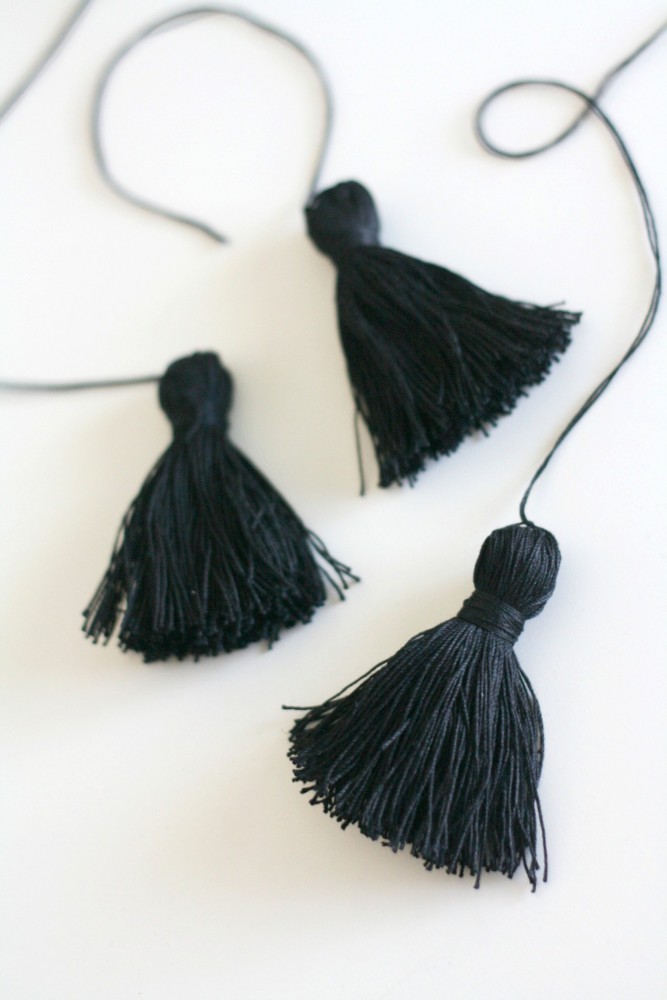
Step 6: Cut the bottom edges of the tassel to create fringe.
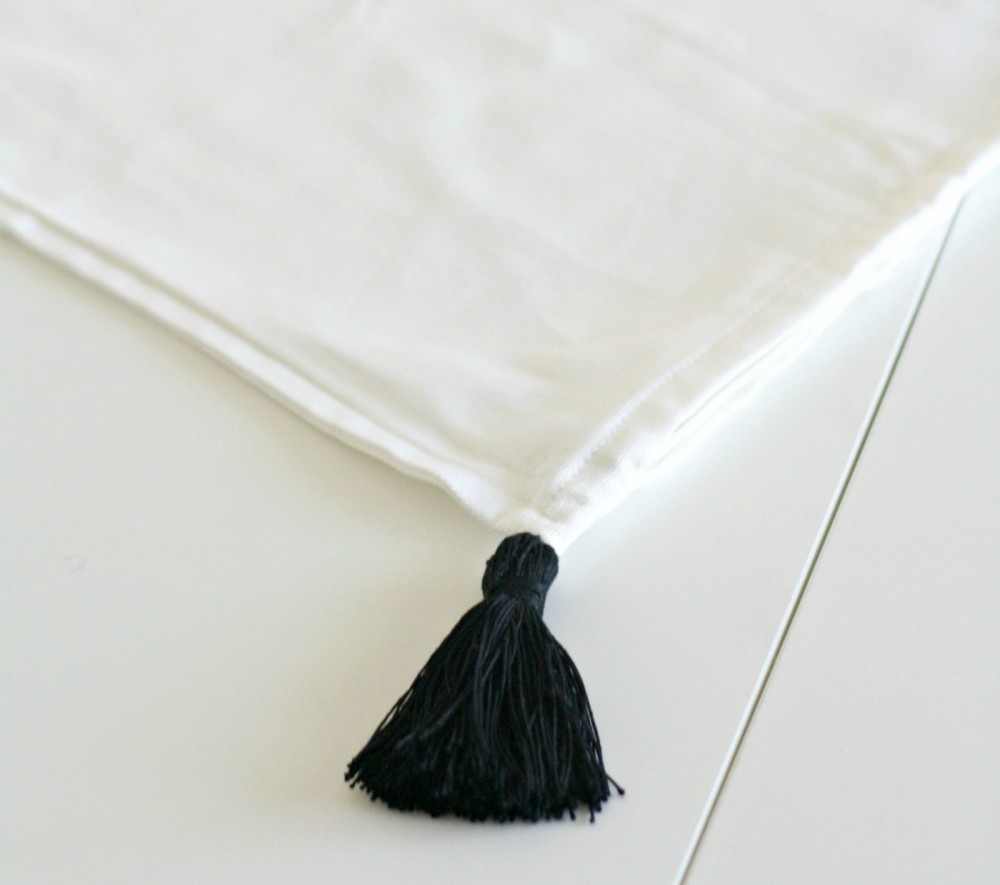
Step 7: Thread the top tassel string through a needle and attach to the pillow cover’s corners. Tie several knots on the inside of the cover to keep in place.
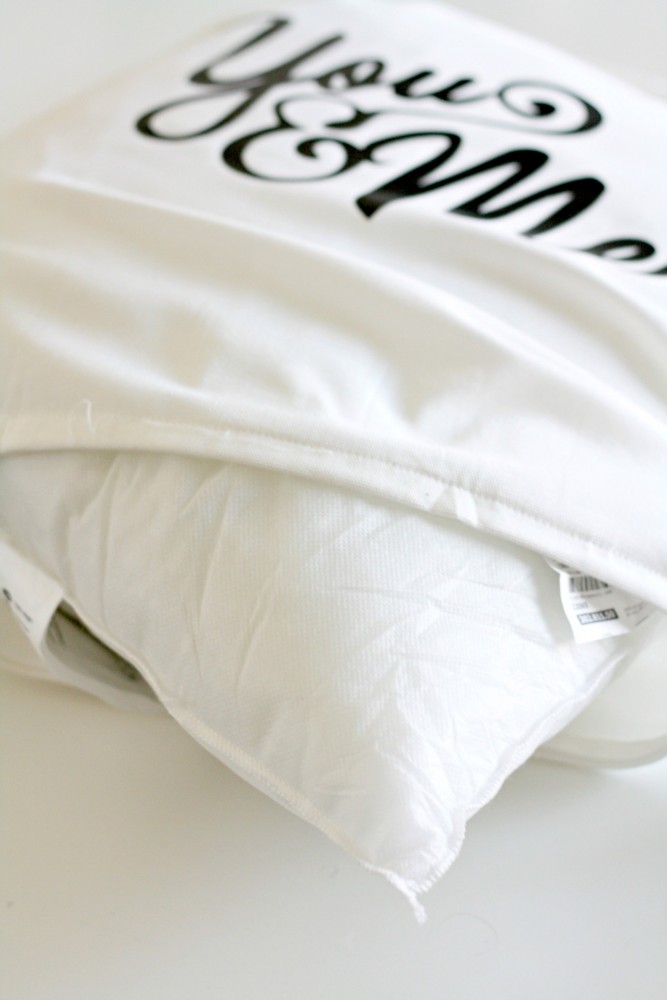
Step 8: Stuff pillow insert into cover.
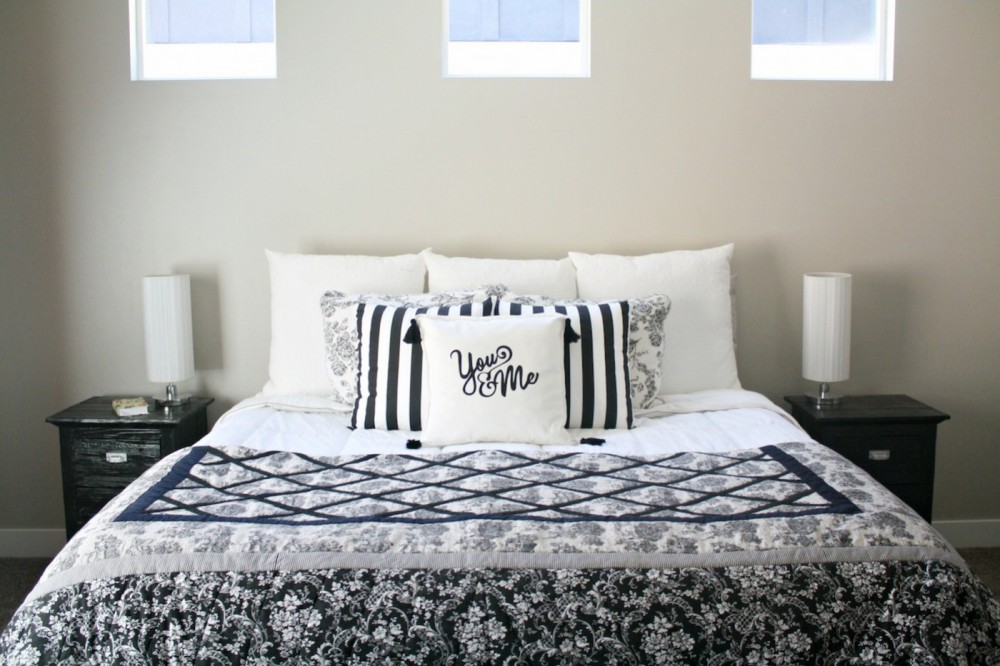
What do you think? What would you put on your pillow?
