

-400x400w.jpg "DIY Dry Erase Board And Chalkboard")
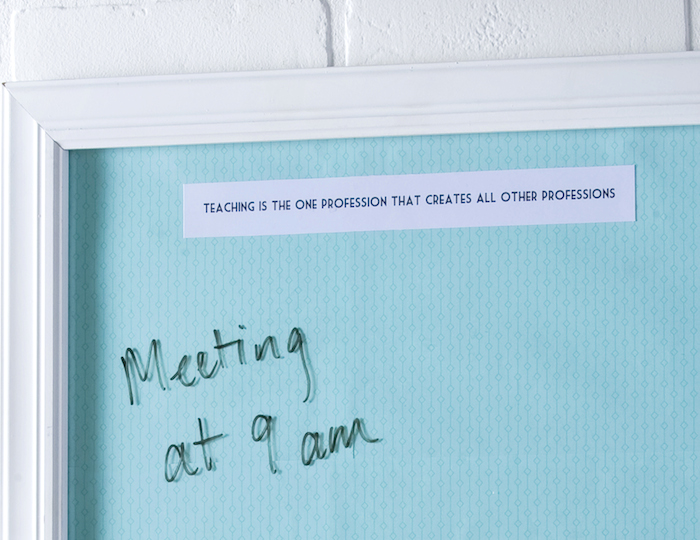
My mother is a former elementary school teacher and was for a long time, so I’ve personalized it to commemorate her years in education. I give my mom a lot of credit for my writing ability and current career, so I chose the quote “teaching is the one profession that creates all other professions.” This would make a perfect gift for a teacher, or change out the quote and turn this into a project for your mom for Mother’s Day. Here’s how it’s done.
Gather These Supplies
- Printer with inkjet paper and presentation paper
- Scrapbook or paper with a repeat pattern
- 16” x 20” white frame
- FolkArt Chalkboard Paint – Black
- Frogtape Shape Tape – Scallop
- Double stick tape
- Quote of your choice
- Foam brush
- Craft knife or scissors
- Paintbrush
- Paper trimmer (optional)
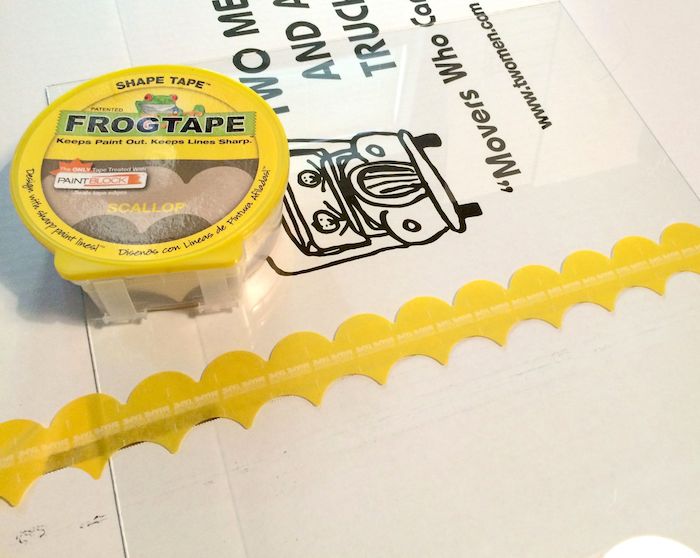
Remove the glass from the wood frame. You’ll probably want to wash it if you see a lot of fingerprints. Let dry and then apply the scalloped tape straight across the middle of the glass. Adding the tape will allow you to identify how big you want the dry erase section and the chalkboard sections will be.
TIP #1: Measure if you want to find the exact center of the glass. I just eyeballed it.
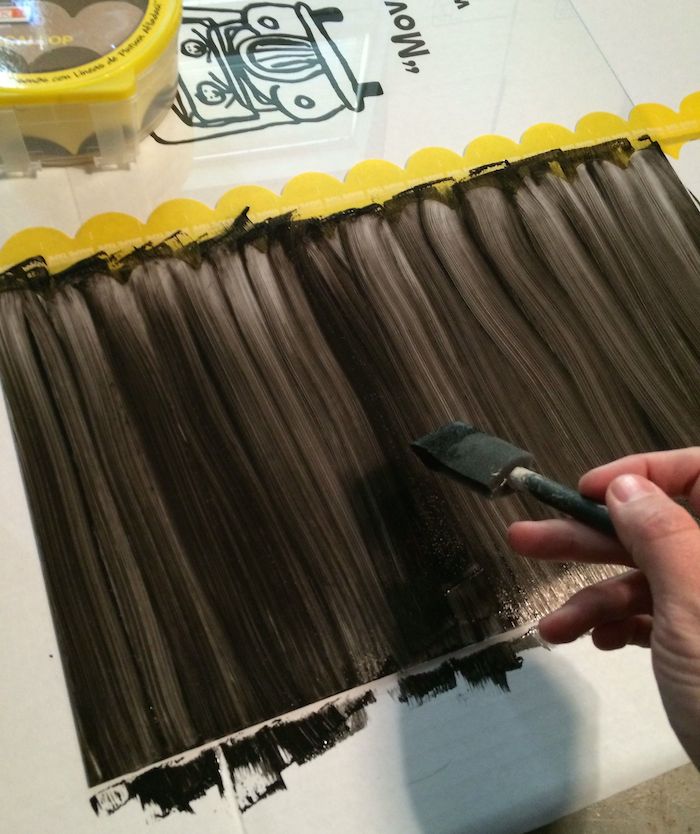
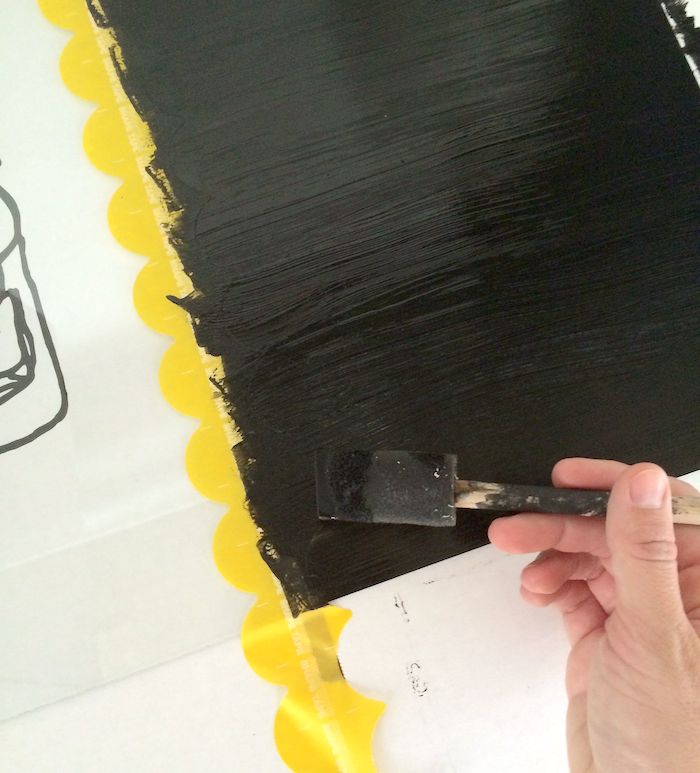
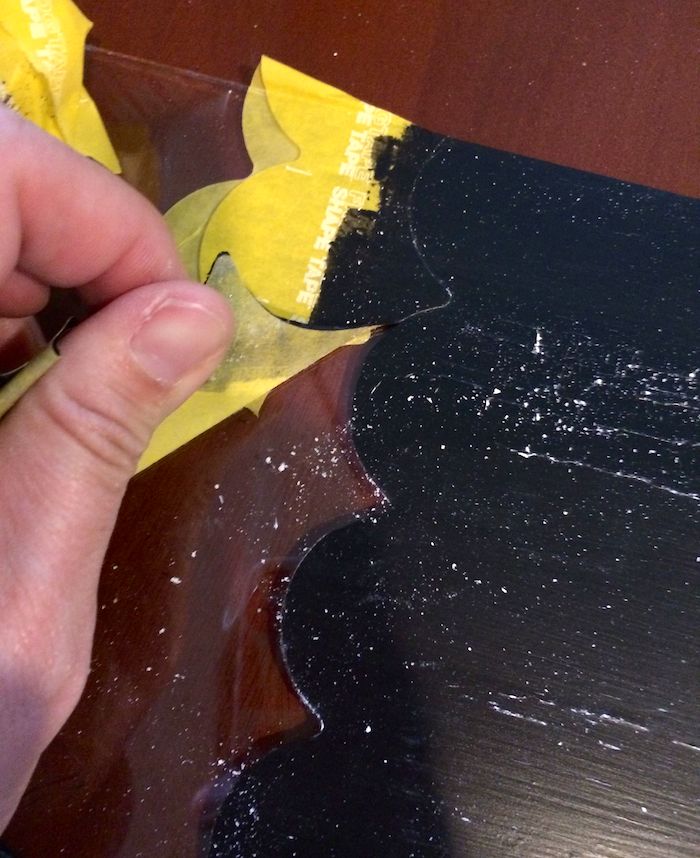
Remove the painter’s tape (start carefully) and then prep the chalkboard paint according to the bottle instructions.
TIP #3: If you find that the chalkboard paint is sticking to the stencil tape when you remove it, use a craft knife to trim around the edge of the tape and release it from the paint.
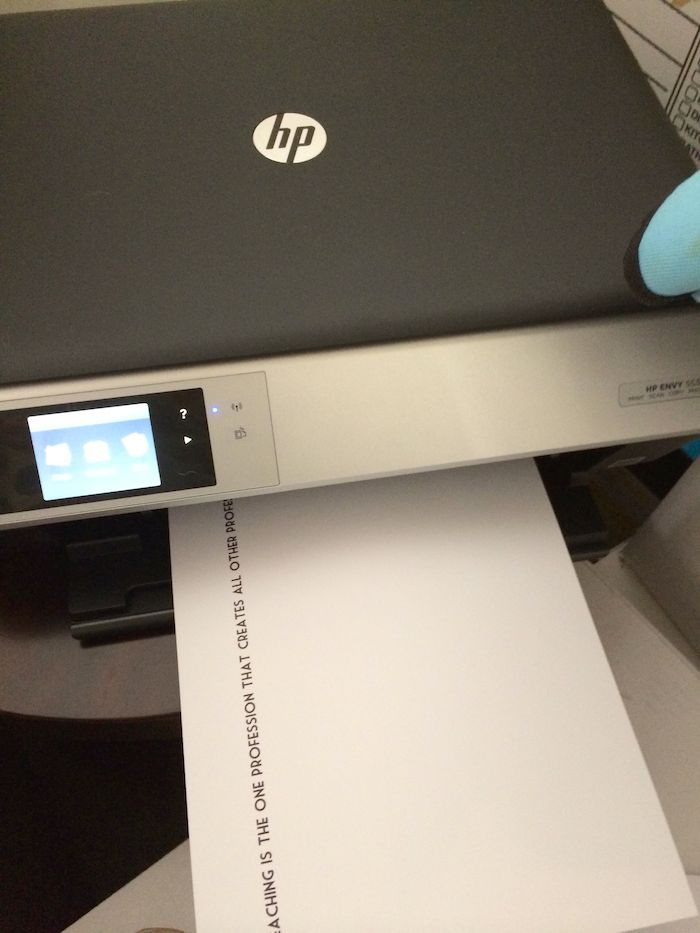
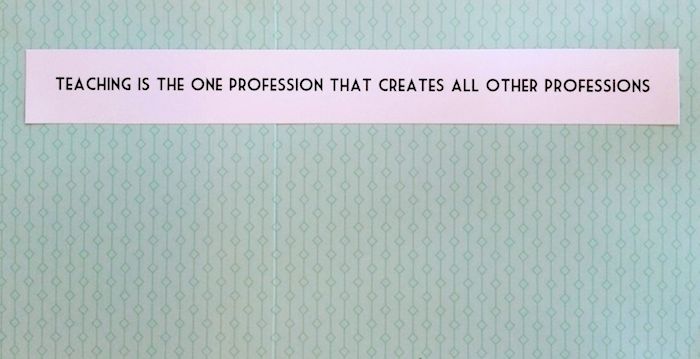
Now it’s time to work on the dry erase portion of the board. Ppick your quote, type it out in a word processing document on your computer and print it out on the presentation (thicker) paper. You can use any quote, but I chose “Teaching is the one profession that creates all other professions.”
I also printed up some repeat paper that I could pattern in the background – you can do this with scrapbook paper as well.
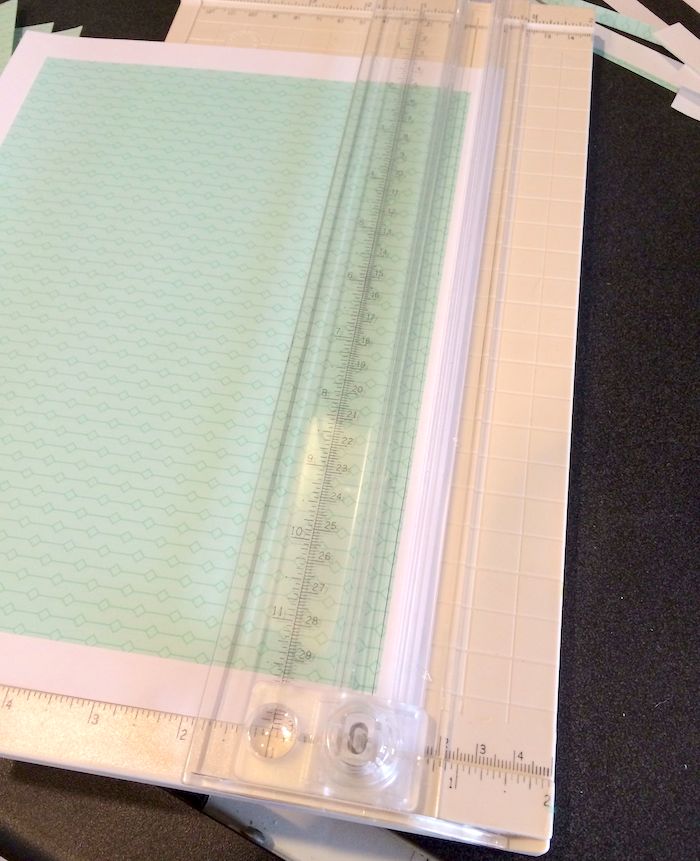
Cut the white border off of your patterned pages if you printed them. You can use scissors, or a paper trimmer might make the work quicker. If you are using scrapbook paper in the background, trim it so you can repeat it.
At this same time, trim the quote out of the Matte paper.
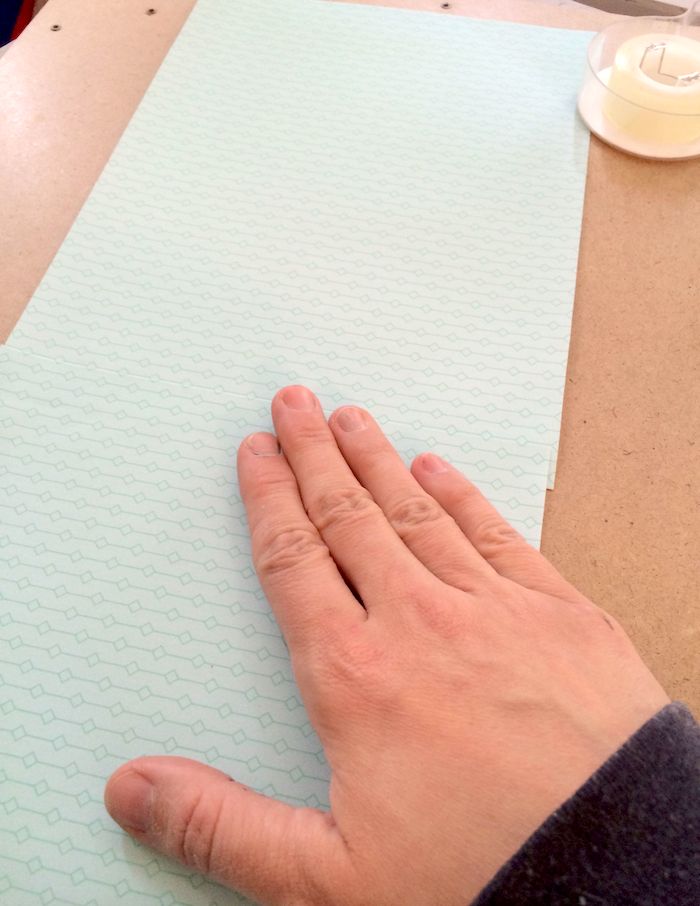
Lay your pages onto the top of the frame back and make sure that you 1) match up the pattern and 2) cover up the entire top half for the dry erase section of the board. The pages can and should overlap slightly. When your pages are in the right place, use the double stick tape to attach them and then trim around the edge using the scissors.
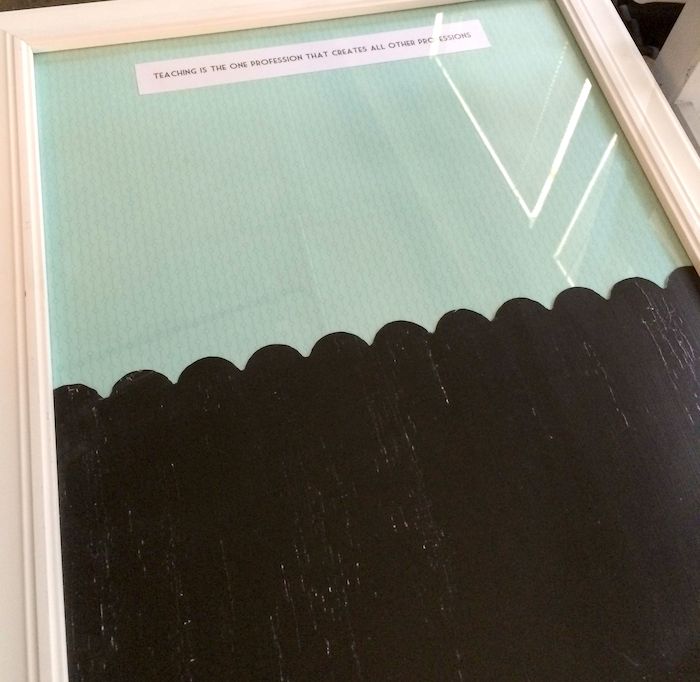
Insert the glass back into the frame, and insert the back.